Around the Woods

Beginner's Project: Making an Awl - Page 6

Sharpening the awl and ready to use.

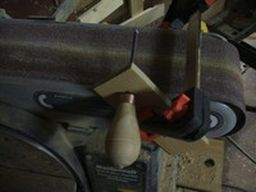
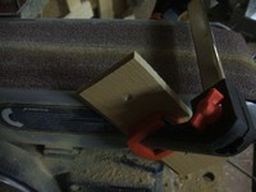
Traditionally the point on an awl is long and lean. It can be ground free hand but is easier to accomplish with a jig. Here is a simple 1/4" hole in a piece of scrap 1/4" material (a scrap of laminated flooring from the den remodel) held in place at the belt sander with a clamp. 	A jig grinding a point on the awl
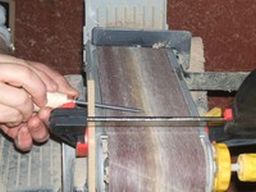
The ferrule is abutted against the jig and the nail rotated counter to the direction of the belt. Incidentally, most knife makers use a sander for sharpening. It can be a very useful grinding tool. 	grind a long, sharp point on the awl
Bring the tip to a point and refine the angle until it is as long as you like. The sparks have never been a problem for me. They do not seem hot enough to start fires but I clean out the sawdust before grinding metal. 	Bring the tip to a point and refine the angle until it is as long as you like
All that remains is to trim the bit left from parting off at the end of the handle and apply a bit of finish. 	trim the bit left from parting off at the end of the handle
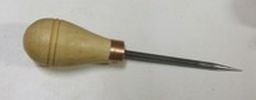
Along with its friends, it is ready for work. 	Along with its friends, it is ready for work.
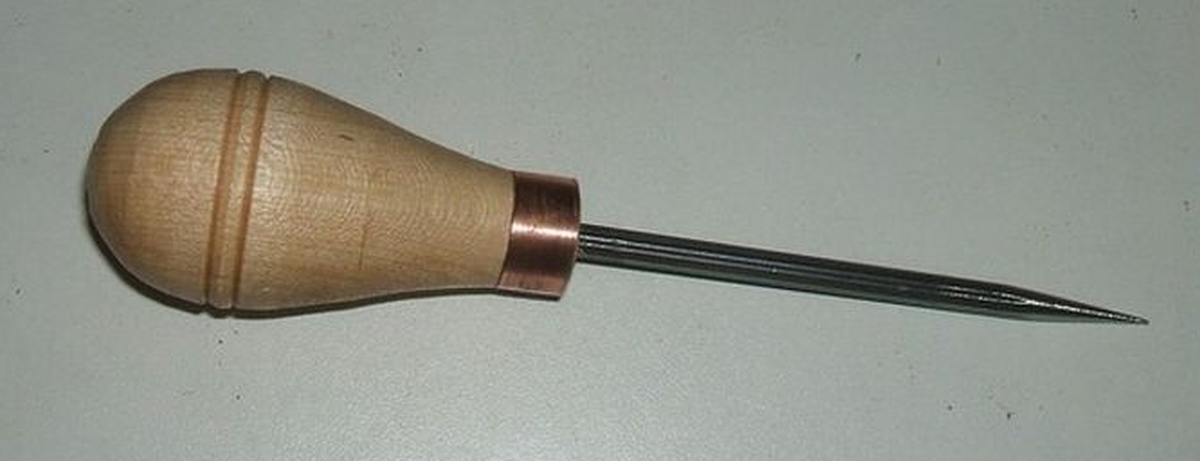
Another look and ready to use.


If you have any questions or comments or would like to let me see an awl you have made, let me know over at Round Opinons or send me an email Thanks.


Wood Turning Home What's New Wood Turning Contents wood turning tipswood turning techniqueswood turning projects: beginnerwood turning projects: intermediatewood turning projects: advancedwork in progresswood turning tools to makewood turning accessories to makewood turning gallerywood turning lathe maintenancelinksWood Turning Course 1919other interesting things Wood Turning Discussion ,   Our Privacy Policy


© 2015 copyright Darrell Feltmate, Around the Woods

"doing you a good turn today"