Around the Woods

Beginner's Project: Making an Awl - Page 3

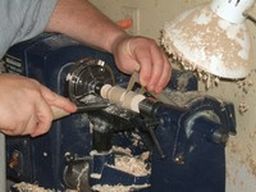
Starting to fit the ferrule

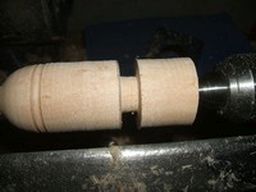
A bit closer look at the bead. If you like, you can ignore cutting the bead and just leave the two grooves. It is your awl after all. 	A bit closer look at the bead.
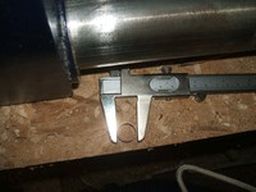
Use your calipers to measure the diameter of the ferrule plus a bit. 	Use your calipers to measure the diameter of the ferrule plus a bit.
Cut in with your parting tool and calipers to leave a spot where the ferrule will eventually go. 	Cut in with your parting tool and calipers to leave a spot where the ferrule will eventually go.
Hold the callipers in your left hand and ease them at the wood while cutting with the parting tool in the right hand. The callipers will ease over the wood when the cut is deep enough. 	The callipers will ease over the wood when the cut is deep enough.
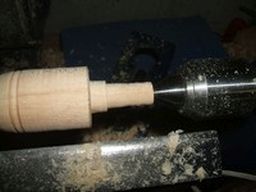
With your parting tool, cut down the wood before the ferrule tenon so it is small enough for the ferrule to easily slip over it. 	cut down the wood before the ferrule tenon
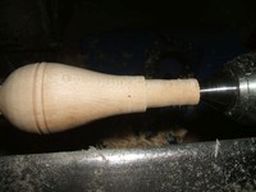
Now cut a gentle curve of bead and cove from the decoration to the ferrule cut. Follow the picture of the pattern. Either a spindle gouge or a skew works well. If you use a skew this piece will likely not need sanding, 	cut a gentle curve of bead and cove from the decoration to the ferrule cut


If you have any questions or comments or would like to let me see an awl you have made, let me know over at Round Opinons or send me an email Thanks.


Wood Turning Home What's New Wood Turning Contents wood turning tipswood turning techniqueswood turning projects: beginnerwood turning projects: intermediatewood turning projects: advancedwork in progresswood turning tools to makewood turning accessories to makewood turning gallerywood turning lathe maintenancelinksWood Turning Course 1919other interesting things Wood Turning Discussion ,   Our Privacy Policy


© 2015 copyright Darrell Feltmate, Around the Woods
"doing you a good turn today"