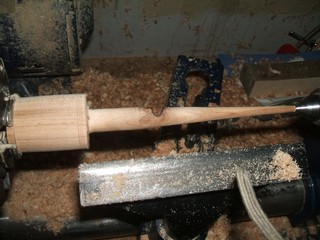
Rough taper the icicle from the top to the tip. Leave about 3/4" next to the top untapered for later embellishment.

Rough taper the icicle from the top to the tip. Leave about 3/4" next to the top untapered for later embellishment.
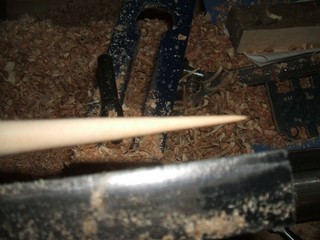
Back off the tail stock and point the taper. Remember that there is a small tip with a hole from the tail stock that needs to be removed and the taper newly established. I like to use a 1/2" straight chisel for this and subsequent cuts but a small skew works well also. If you need to sand do so now and apply turner's polish to the last inch. There is no chance to go back and do it later.
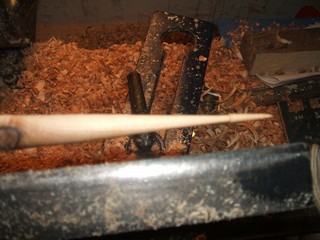
Come back about 3/4" and establish the first drip on the icicle. Taper the next section into the base of the first drip.
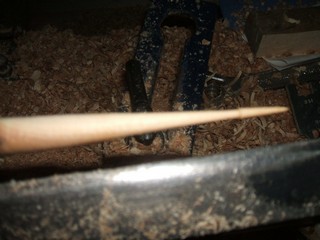
Sand and finish. Do it now. Once again, it is important to sand and finish eash piece of the icicle as you turn it. There is little or no opportunity to do it after the next drip is cut as the neck is too slim. The only exception is if you have decided to spray on a laquer after you finish the whole ornament. Regardless, sanding mus tbe done before the next neck is established.
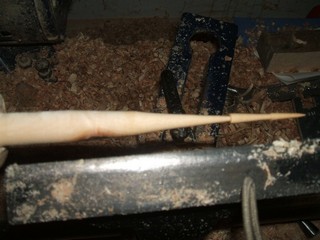
Establish the second drip and taper in the next section. I find it gives a better final look if the taper starts each time from the beginning of the flat section next to the head but your design may vary. Sand and finish.
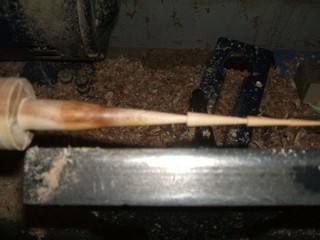
Establish the third drip and taper in the fourth. Sand and finish. I got away with a knot in this piece without it breaking. It leaves a nice character section in the icicle.