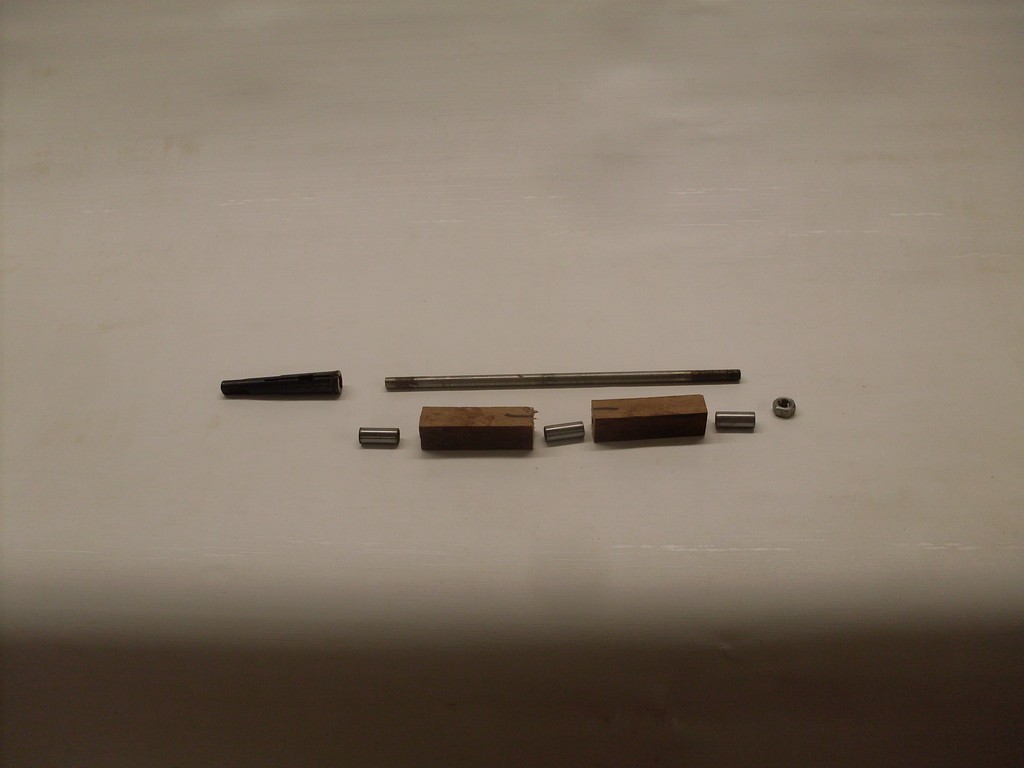
Once the pen blanks are added to the set up the placement of the bushings becomes obvious. one of the nice things about the bushings for the slimline pen is they are all the same size. Other pens have different size bushings and indeed some bushings have graduations in their sizing. This can be quite confusing for the beginner and for that matter for the experienced turner who has not made a particular style of pen in quite a while.

Out comes the holding jig once again as a pen trimmer is put into the drill press. I have the drill press set to 950 rpm which is its slow speed. A pen trimmer has a long shaft that just fits the inside of the brass rod. At the top is fastened a cutter which is larger than the diameter of the pen bushings and at 90° to the shaft. This will esure that the end of the blank will be square to the axis of the barrell and that the fittings will line up properly..

Again I leave the drill press speed at 950prm. I am sure that anything in this fairly low range will be fine. Some people mount a handle to the pen trimmer and use it that way but I find that this is efficient and works well. With the blank in the holding jig and the drill press turning, the trimmer is eased into the blank. The end of the trimmer clears glue that has dripped into the brass tube while the cutting edges come down to clear the glue at the end and square the wood to the tube. just touch the trimmer edges to the blank with an up and down motion until the rim of the tube shows bright all around the opening.
Take your time with this. One of the main reasons for pen failure is the blanks being shortened too much, a second is the tubes not bieng square to the blank, and another is glue inside the tubes. The trimmer helps with all three.


This is the center of the pen where the tube was glued flush with the end of the blank. Note that there is little glue or wood to be trimmed away until the ring of brass is seen.


Flip the tube over and proceed to trim the other end. This is the end where extra wood was left to prevent blowout while drilling. Note that the trimmer has had to remove more wood to find the tube and leave a "brass ring" as evidence trimming has proceeded far enough. As I move the blank to my ready board prior to working on the next blank I look into it to check that the trimmer has removed all glue spots from the inside of the tube. On the rare occasion that it has not, I use a couple of swipes of a chain saw file to remove any glue bits.
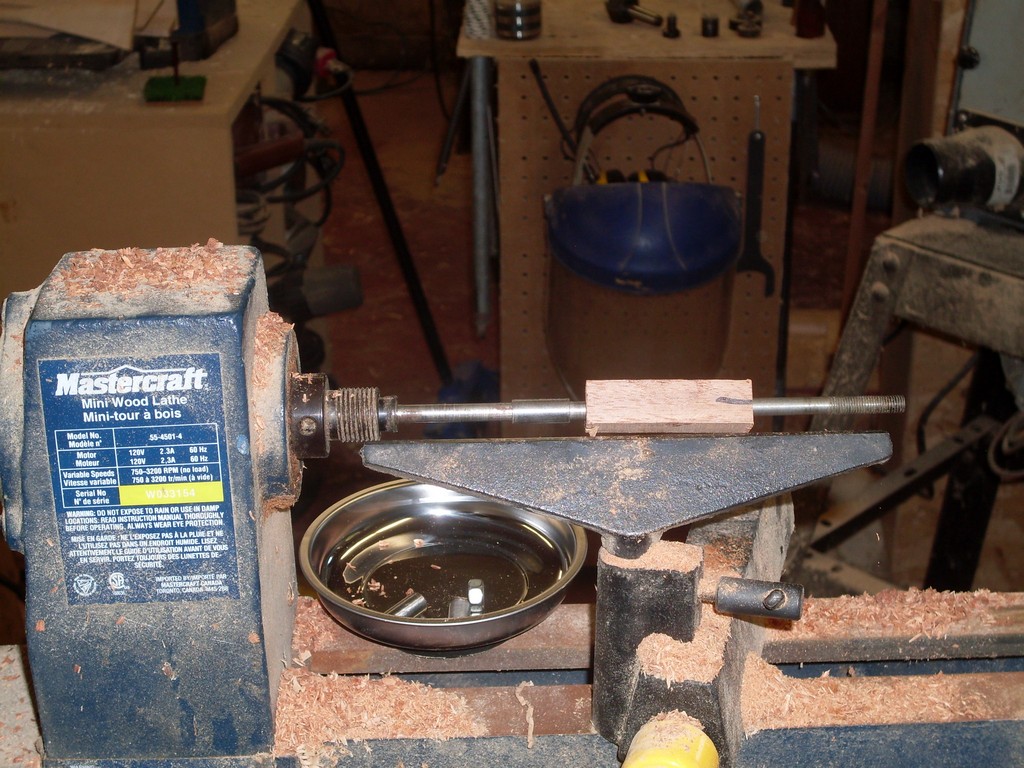
Once the procedure has been performed on the other blank it is time to mount the blanks onto the wood lathe.