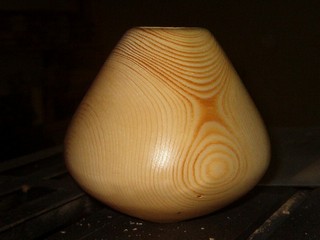
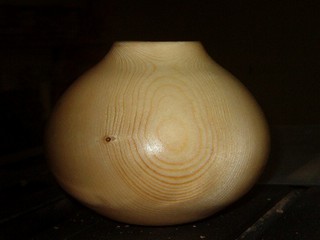
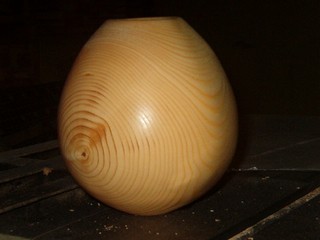

I have been turning a fair number of hollow forms lately. To be honest, I had not turned any for a while and found I had lost my touch. While turning a hollow form in green spruce, I must have had the tool cutting very well and went through the side. This has not happened for a while and it told me it was time to practice. Besides, these things are fun and a recent hurricane left me with a lot of spruce and poplar for practice wood.
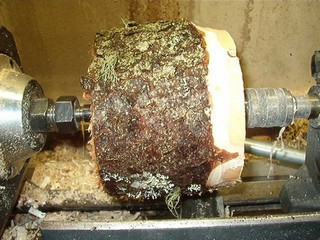
I am turning this form from spruce. This is a difficult wood to work with, especially while green. Being a soft wood it takes a gentle touch and a sharp tool for a good cut. It is also ready to fuzz and leave a swarf on the tool edge that makes you think the tool is dull when all it needs is cleaning.Besides this, the sap is sticky, tends to collect in pockets, and you have to be ready to wear it while you turn.
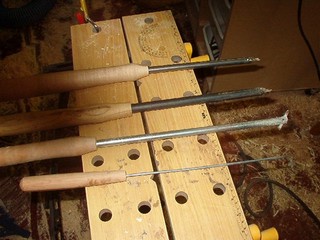
Most of what I know about this style of hollow turning I have learned from David Ellsworth’s tape dealing with the subject. As a result I will be using some of his techniques and his style of tools, which I have made for myself. Essentially they are a 1/4" straight Oland tool, a 3/16" straight Oland tool and a 3/16" 45 degree Oland tool. Any others I will introduce as I go.
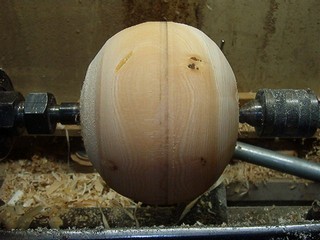
To begin with I have cut a piece of spruce a little shorter than it is round, and mounted it between centers on the lathe. I am going to remove the bark and round down the ends leaving an oval form. The intention is to make a piece taller than it is wide. Watch me like a hawk. This will make sense as we go. I am roughing and rounding here with a 1/2" Oland tool. Once the ends are rounded over, I mark the center line of the piece. On opposite sides of the piece I mark the center line with points for my head and tail center.
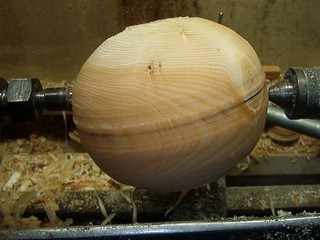
I mount the piece to those points and make sure it is centered on the lathe. Then I adjust so that the pith is running in the same lane as the lathe bed but at 90 degrees to the axis of rotation. Later, when the piece is off the lathe and sitting on its base, this means that the pith will be parallel to the ground and distortion will be uniform.
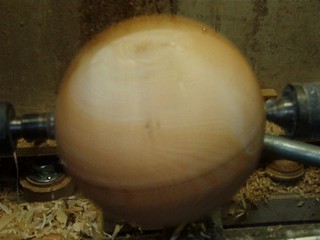
Note the huge “ghost” this has caused. All this will need to be removed. I am using a 3/8" Oland tool with the edges brought back but a bowl gouge will work well.
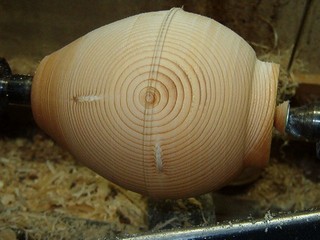
I am going to use a glue block on this piece so as to utilize all the wood. If I was going for a more squat form I would use a face plate. Coming up from the bottom to the rough diameter of the glue block, I flatten the base and leave a spigot for turning support. I then come up from the base about 3/4" to 1" because I plan on leaving this as support as hollowing occurs so as to reduce chatter. I have also left a small ridge at the pith line to aid in shaping once it is mounted on the glue block. The pith does not “have” to be at the greatest circumference, but it is usually a good visual effect.
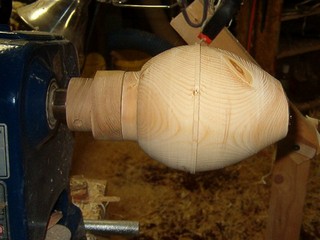
Here it is mounted on the glue block. Before gluing make sure the gun is very hot and dry the base with a heat gun. This is wet wood and the glue needs a dry surface to hold. After gluing I hit the base on the bench a few times to make sure the glue is holding. Of course I call it the "bench test" for glues.