
Turning a Natural Edged Bowl - Facegrain (3)
"All natural and it's wood, it has to be organic!"
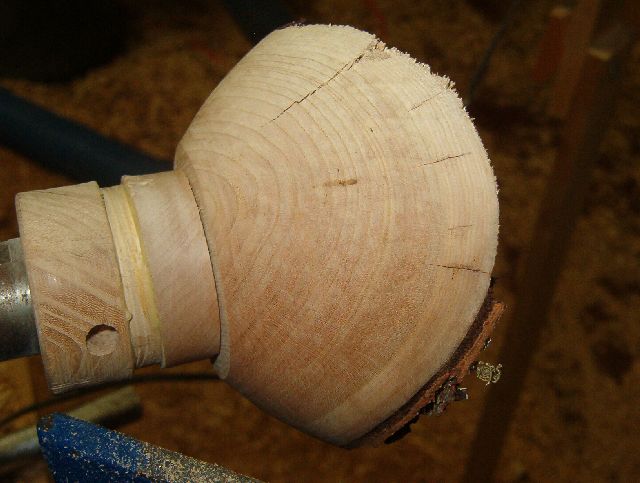
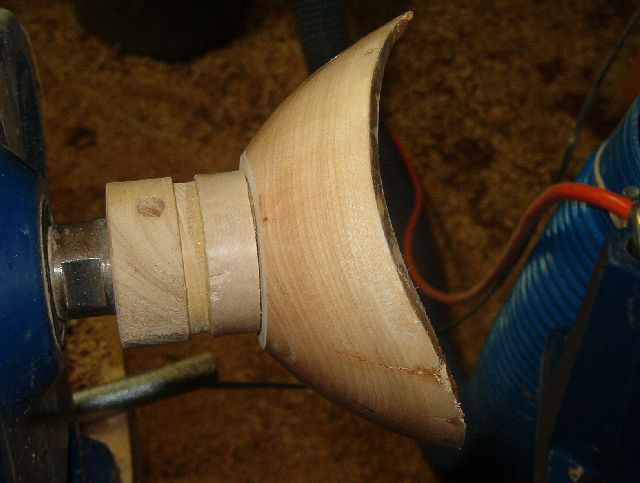
| True up the outside of the bowl and establish the final form. If at any time the bark splits away, I just pare off the rest with a sharp chisel. |
|
| Move the tool rest to the front of the bowl and begin to turn the inside. I work down an inch at a time, establishing the final thickness of the bowl and blending in each area as I go. |
|
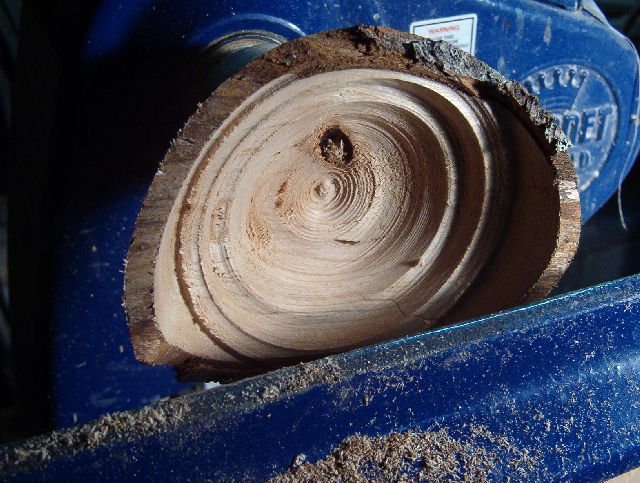
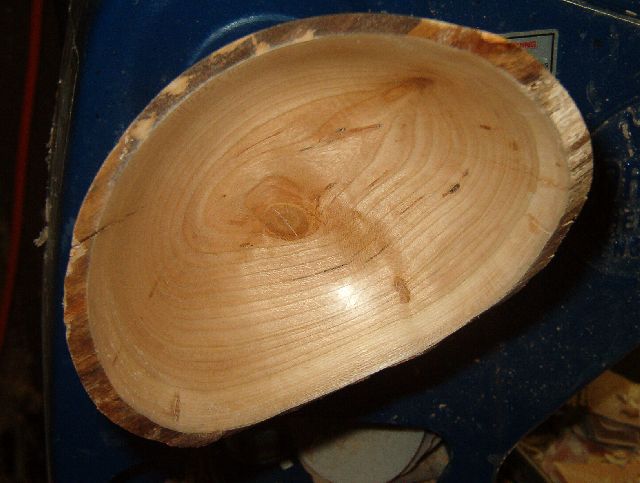
| A bit more. |
|
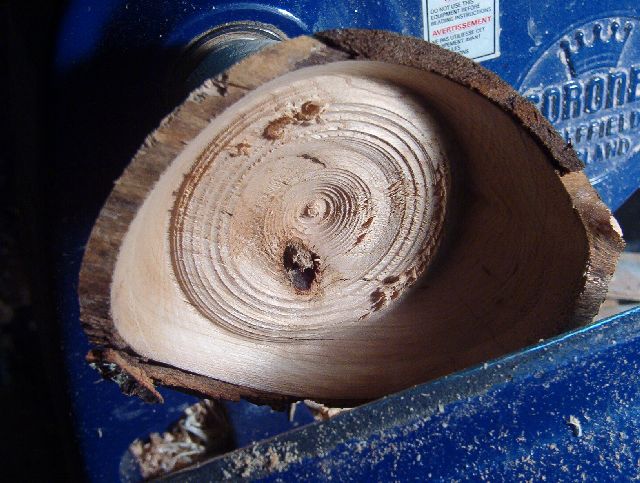
| To the bottom. |
|
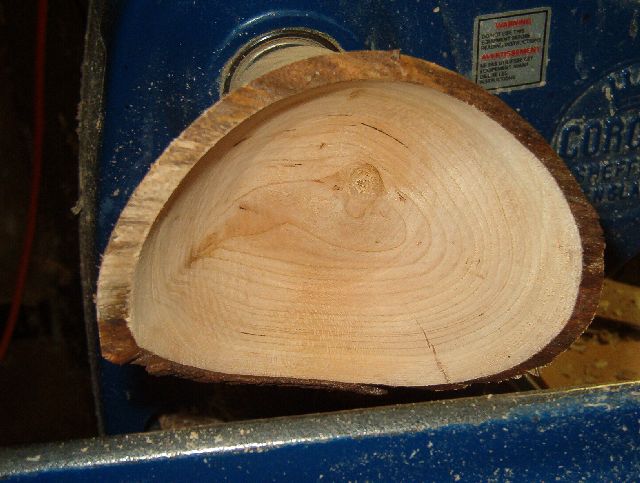
| Sand the inside and outside of the bowl. If you are power sanding, use the bottom left quarter of the disk to sand and angle it so that the wings of the bowl hit just below the center line of the disk. |
|
| While sanding the inside of the bowl, the disk uses its upper right quarter and hits the upper right of the bowl. |
|
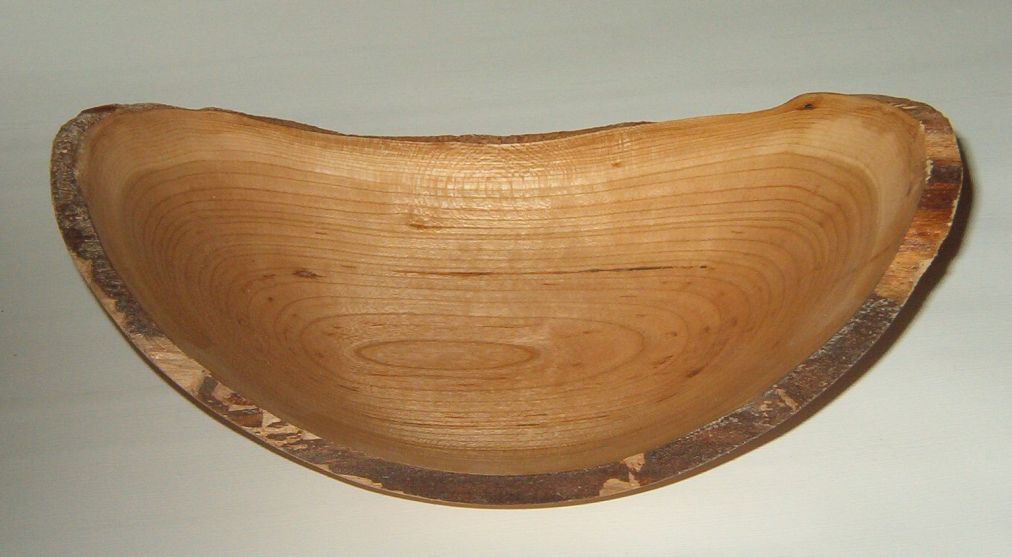
| Part the bowl from the glue block and apply a finish of your choice. In this case I use a mix of 3 parts varnish thinned with 1 part turpentine, padded on and wiped off. |
|
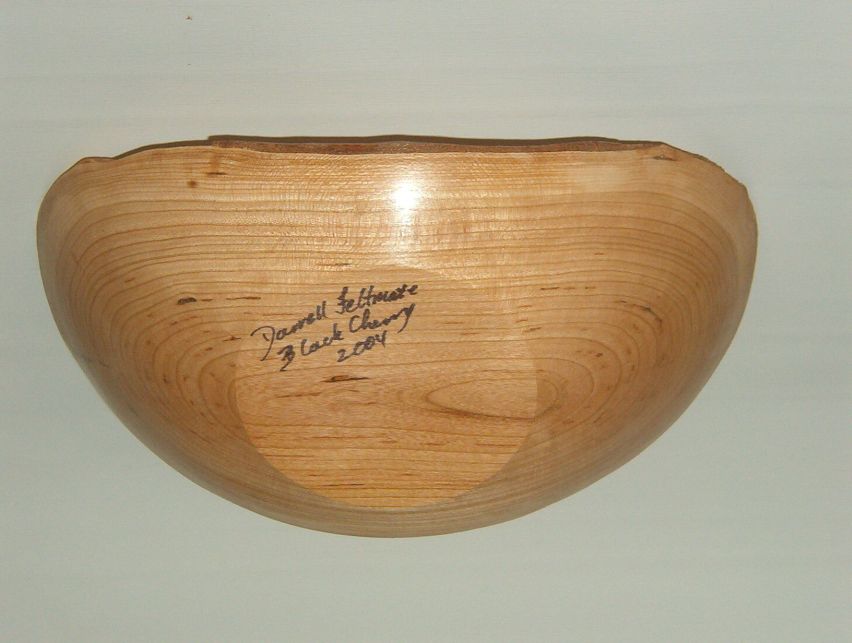
| The bowl bottom can be sanded off the lathe or held between a jam chuck and tail center for turning and sanding. Usually, I let the finish cure for a week before doing the bottom so that the sawdust does not gather in the finish. |
|
If you make one please let me know how it turned out.
© 2015 copyright Darrell Feltmate, Around the Woods