|
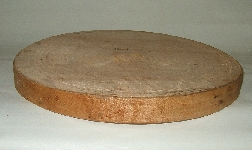
I am using a slab that I cut and roughed some time ago. This is maple with a bit of eye but not enough that I would call it "bird's eyed." If you have no roughed out slabs sitting around, kiln dryed wood will work and one could be glued up.
|
|
|
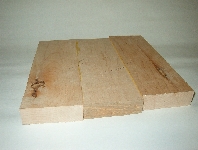
The bottom slab is similar. It is seldom seen and need not be fancy. I am making a 12" lazy Susan and want a base about 8" diameter. Here I have glued up a slab. The glue lines will be cleaned up on the lathe.
|
|
|
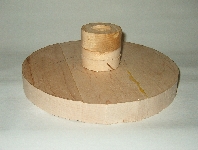
We will turn the bottom slab first. Mount it to a glue block with hot glue. I have roughly rounded it on the band saw for simplicity.
|
|
|
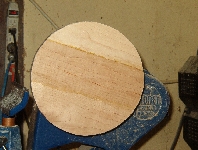
Turn it round and flatten what will be the inside surface, here seen rough on the lathe.
|
|
|
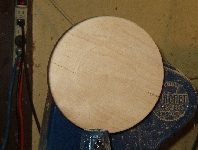
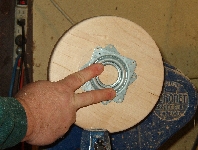
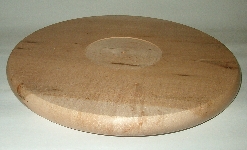
In order for a lazy Susan to work well the bearing must be centered. The easiest way to accurately center the bearing is to use the lathe. Turn a recess in the center of the bottom plate a little less than 1/16" deep and
|
|
|
fit the bearing to the recess. Do as many trial and error fittings as necessary. Sand to 400.
|
|
|
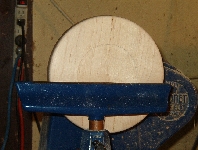
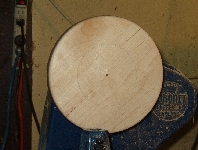
Now dimple with the point of a tool the exact center of the disk. Part from the glue block.
|
|
|
Here the dimple is emphasized with pencil for better viewing.
|
|
|
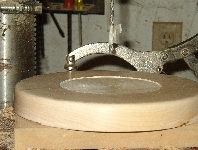
Drill a hole for the screw of your screw chuck. A 1/4" penetration will likely be enough but your disk should be thick enough to easily accomodate 1/2".
|
|
|
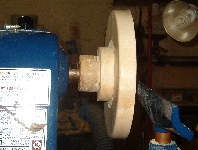
Mount the disk on the screw chuck |
|
|
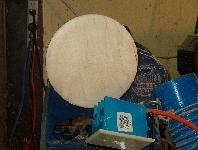
and remove the residue from the glue block,
|
|
|
round the edges, and slightly dish the surface so it sits well on a table surface. Sand to 400. If you have never used a screw chuck, you may be amazed at its holding capacity.
|

|
|
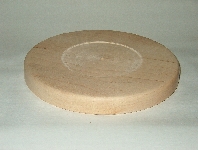
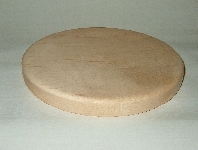
The top of the bottom piece
|
|
|
and the bottom bottom.
|
|
|
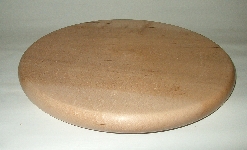
Repeat the procedure with the top. The top can be decorated with beads and coves and such, but I like it fairly plain.
|
|
|
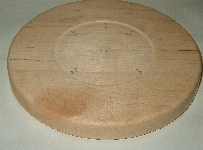
Screw the bearing to the bottom using flat head screws. To do this, first position the bearing and mark for the screws, A, B, C, D. Rotate the bearing 90 degrees and mark for one more screw, E. This will give access for mounting the bearing to the top of the lazy Susan.
|
|
|
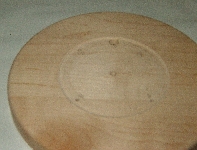
Drill a 3/8" to 1/2" hole through the last marked position. Drill pilot holes for the mounting screws.
|
|
|
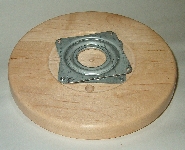
Finish both top and bottom. Position the bearing on the bottom and fasten with #5 or #6, 1/2" flat head screws.
|
|
|
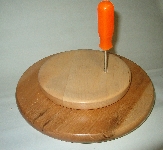
With the bearing mounted to the base, flip it over and position it on the upside down top, an easy maneuver with the bearing just fitting in the recess. Make sure the screw holes in the bearing are over the pilot holes. I put an awl in the fastening hole and rotate until the tip of the awl fits into a screw hole. Fasten the bearing in place through the hole drilled in the base. A flashlight to peer through the hole and make sure of line up along with a magnetic screw driver really help with this.
|
|
|
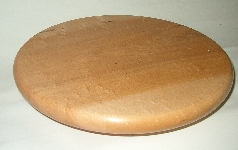
Done.
|
|

