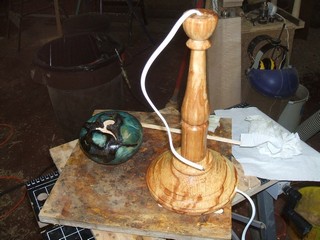
Apply your finish of choice and let it dry. I was also finishing a blue dyed spruce burl vase at the same time.

Apply your finish of choice and let it dry. I was also finishing a blue dyed spruce burl vase at the same time.

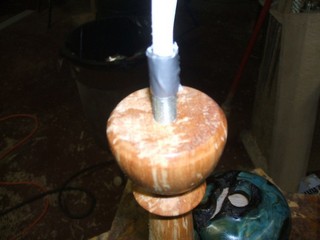
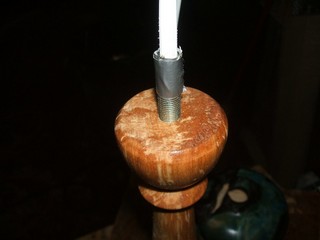
Once the glue and finish are dry, place the threaded rod over the cord and insert it into the wood. It will take some work.

I find the easiest thing for me is to measure the length necessary to reach through any nuts, decorative washers and so on as well as the base of the harp and the light fixture, then to apply a few turns of Duck Tape around it and use pliers to turn it into the wood. It will self thread as you go.

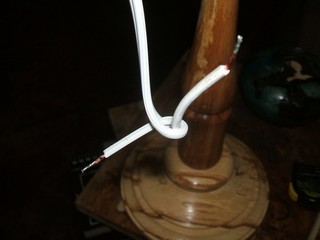
Bring the cord through the base and tie it in an overhead or &qot;underwriter's" knot. One side of the cord will be identified with a color or a flat area. This end attaches to the chrome colored screw, the other wire goes to the brass colored screw. Remember that you are dealing with electricity here and you are responsible for your own safety, not me. Shocks and fires are possible. That said, this is not complicated but you may want to ask someone who knows to take a look at it and see if this is safe before you plug it in.